If you're looking to spice up a Lightscript, adding a background can be an eye-catching way to do so. There are a few different ways to accomplish this, but by far the easiest and most efficient is to use SVG paths.
SVG paths can be created relatively easily using Adobe Illustrator. It is best to start with a regular PNG image that you wish to simplify into an SVG path. Once you have found a background image, create a new Illustrator project by clicking New and choosing the Web Large preset.

Next, import your reference image into the new artboard by clicking File -> Place in the toolbar and then choosing your image in the popup that appears.
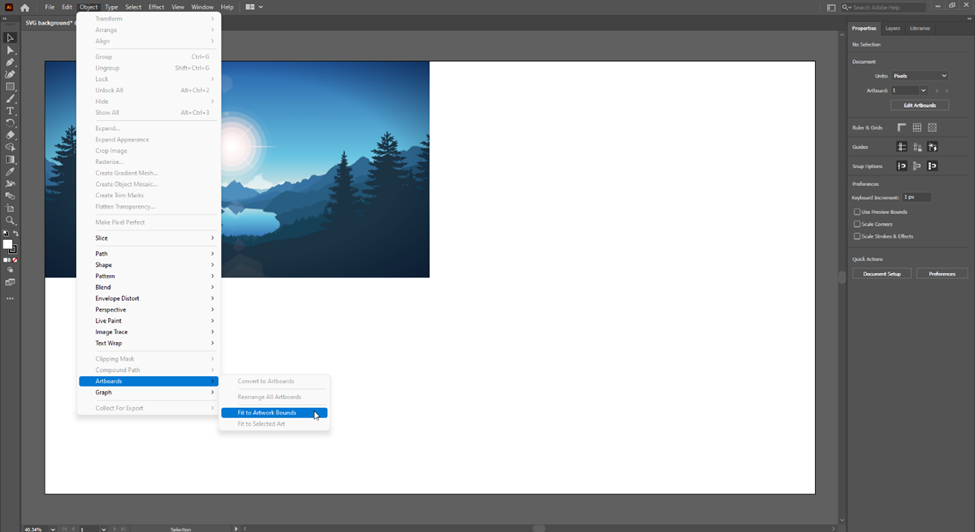
Often, the artboard will be much larger than the image you imported. To fix this, click on Object -> Artboards -> Fit to Artwork Bounds option.
Next, choose a part of the image you would like to isolate into a path. SVG images are made up of polygons defined by their outline path. These polygons can then be filled with a color or gradient using the JS Canvas API.
In this example, I will trace out the outline of the pond and fill it with a solid color. To start, select the pen tool by pressing P on your keyboard. Click a point along the outline of the shape you would like to trace, and then begin adding more points until you have made a continuous path the same shape and size as your chosen shape. The color of this shape does not matter, as you will be setting the color separately in the JavaScript code.

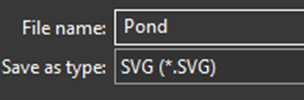
Once you are happy with your path, export it by clicking File -> Export ->Export As. Make sure you choose the SVG file type.
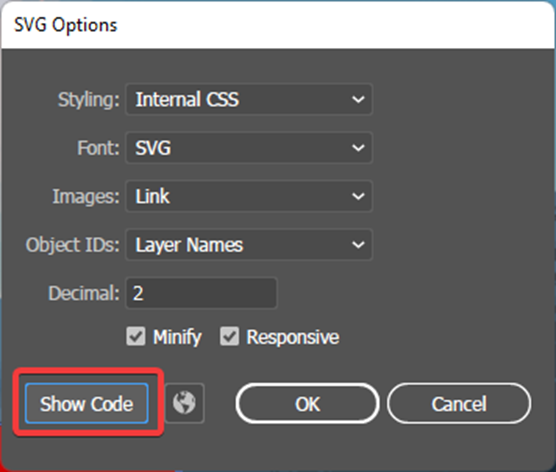
In the next window that opens, ensure that Image is set to Link, and then click the Show Code option.
In the Notepad window that opens, locate the <polygon> tag and copy the entirety of the points attribute. This should be a long string of numbers. Next, click Cancel, as you now have all the data that you need.
To draw a path-based image on the effect canvas, declare two new constants. First, declare a constant set to the string you copied earlier.
For example,351 396.5 440 435.5 501.84 would become M351 396.5 440 435.5 501.84.
Now, create a new path with new Path2D(path) where path is the name of your first constant.
This image can now be drawn by calling ctx.fill(path2d) where path2d is the name of the path you declared in the previous step.
To set the color of a shape, call ctx.fillStyle(color) before drawing the image. This function accepts hex color codes, CSS color names, CSS color functions, and gradients as arguments.
You can also use the full array of canvas transformation effects like scale and translate. To ensure that the transformations only apply to the current image, use ctx.setTransform(1,0,0,1,0,0) after each layer is drawn.
The following example code shows how to draw a simple SVG path image. This technique can be repeated as many times as you'd like to draw complex backgrounds.
var c = document.getElementById("exCanvas");var ctx = c.getContext("2d"); // Data copied from Illustrator. Make sure the first character is M.const pondData = "M351 396.5 440 435.5 501.84 435.5 539.37 435.5 584.5 415.5 581.5 396.5 570 385.5 581.5 383.13 546 370.5 502 365.5 480.5 384.66 457.42 365.5 443.63 365.5 432.14 365.5 413 380.5 408 390.5 371 387.5 351 396.5";// Create a new Path2D from the data.const pondPath = new Path2D(pondData); function update() { ctx.scale(0.3,0.3); // Optional canvas transformation. You can also use ctx.translate(x,y) to move the location of the new path. ctx.fillStyle = "blue"; // Set color of path. You can also use gradients here. ctx.fill(pondPath); // Draw the path. ctx.setTransform(1, 0, 0, 1, 0, 0); // Reset transformation so it only affects this path. window.requestAnimationFrame(update);} window.requestAnimationFrame(update);The above code should produce this result:
