This section covers gathering data, building effects functions, and using the Meter class to trigger said functions. There will not be an emphasis on explaining animations or the specifics of our effect handlers, so if you need to brush up, I would check out our Tutorials or API Reference sections.
The process for effectively triggering an animation from start to finish is:
- Use the Meter.setValue(value) method inside of the update function to insert raw meter data into an instance of your Meter class.
- If the Meter judges itself to be stable, it will activate the callback function passed in as its second parameter.
- This callback function contains conditional logic to evaluate the state of the Meter. If the state is truthy, your effect should be added to the effects array (effects.push(new yourEffect())) or the state handler (steMgr.Push(new yourEffect())).
- Each run of the update function evaluates the full effects array and the latest element in the state handler. In this stage, the effects are drawn based on state variables.
- After being drawn, each effect contributes to checking its lifespan. Effects in the effects array simply iterate a lifespan variable set to the instance of their class. When the lifespan is 0 or less, the effect is easily removed with a splice during the evaluation of the effects array. Effects in the state handler can remove themselves when needed because the state handler functions as a stack, and conditional logic for these effects tends to be more complicated.
The meter
This meter is looking for a typical health bar and will return the percentage of matching color as a number between 0 and 1. The HSL range is fairly broad in this case to account for a gradient in the bar's coloring. This introduces an issue - as the health bar shrinks, it actually reveals a transparent background, which could include green elements from the game environment that pass the color check and throw off our meter.
<head> <meta meter="health" tags="example" x= ".05" y=".9" width=".189" h="70-140" s="40-100" l="40-100" type="linear"/></head>The Meter
Here, I've created an instance of our Meter class called healthM to activate a "took damage" effect.
<script> // Meter instance var healthM = new Meter(25, healthHelper); function update () => { healthM.setValue(health); window.requestAnimationFrame(update); } function healthHelper () => { // "Took Damage" effect up next } // . . . </script>I've given a pretty high stability requirement (25) to account for the above instability issue. The attached callback function will only be activated if the meter value is stable for 25 updates, which will exclude most data that isn't the actual health bar, even if the player is still. The only downside to this is the growing latency of the effect, which will always be the limiting factor in this scenario. For this particular health bar, we can counter this in at least a couple of ways:
- When hit, part of the green bar is instantly converted to red before shrinking down to the new level of green health. If we add a meter healthRed looking for red in the same spot as the health meter, we can combine their values for faster triggering. A conditional if ( healthM.decreased && healthRed.increased ) should provide good accuracy in this case.
- We can also combine the readings of several linear meters with the same color settings. I currently have one linear meter set up in the middle of the health bar. If I set up two more, one slightly above and below the original but still inside of the health bar, the closeness of the three meter values can be used as an additional stability check. All three meters would have to read Meter.decreased and be within a small range of each other's values to trigger the effect.
The Callback
This callback function only runs after the meter has verified that all elements in its value array are equal. This ensures that the meter values are based on stable data. Inside the callback, I’ll use a conditional statement to determine whether the effect should be played.
let healthPrev = 0;function healthHelper () => { if (healthM.decreased && healthM.value != healthPrev){ effects.push(new healthEffect()); healthPrev = healthM.value; }}The conditional statement requires two truthy conditions: a stable decrease in the meter and a mismatch between the current meter value and a previously recorded value. I added this second condition to avoid a bug. If we only checked for a decrease, the effect would play repeatedly. Since Meter.decreased is set once the meter stabilizes, its value remains the same as long as the meter doesn't change. This way, the effect will only play if there's a decrease that differs from the last stable value.
The Effect
I’ll create two effects for you: one to go in the effects array, and another for the state handler.
Effects Array
This first code block defines an effect function intended for the effects array. It’s designed to be fast and lightweight to allow multiple minor effects to run simultaneously. To reduce system load, I also made the effect easy to customize through parameters for reuse.
function healthEffect(color, direction, speed){ // The lifetime of the effect should be iterated in the draw function. this.lifetime = 200; this.speed = speed; this.direction = direction; this.color = color; this.draw = () => { // Set fill from parameter ctx.fillStyle = `hsl(${this.color}, 100%, 50%)`; // Check direction if (this.direction == "up"){ ctx.fillRect(0, this.lifetime, width, 30); } else { ctx.fillRect(0, height - this.lifetime, width, 30); } // As the lifetime decreases by 5 each update, the rectangle moves accordingly. this.lifetime -= speed; } }Here’s how it should appear in action:

Thanks to the function’s editable design, we can easily create a healing effect too! Just add an additional conditional to the callback function.
function healthHelper () => { if (healthM.decreased && healthM.value != healthPrev){ // Damage effect effects.push(new healthEffect(1, "down", 5)); healthPrev = healthM.value; } if (healthM.increased && healthM.value != healthPrev){ // Healing effect effects.push(new healthEffect(120, "up", 5)); healthPrev = healthM.value; }}
The simplicity of this effect is its biggest advantage for a LightScript developer. Instead of creating custom designer effects, each requiring hundreds of lines of code, build small, reusable effects that serve as building blocks for specific triggers. The next three effects are variations based on the small effect we just created. Feel free to experiment and see what you can achieve!


State Handler
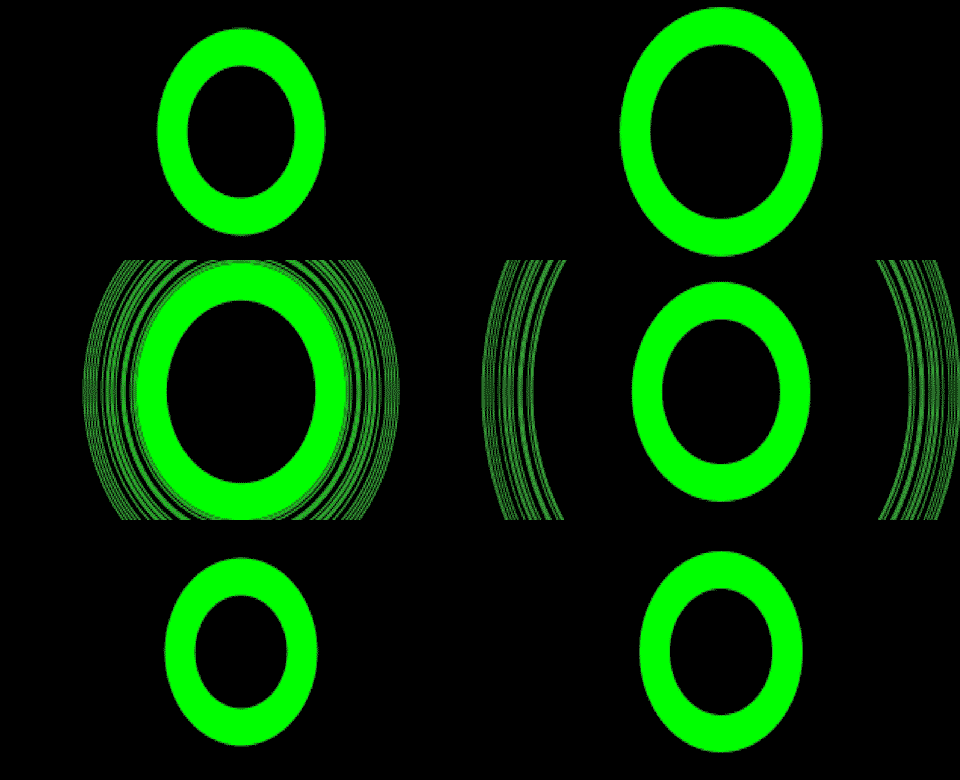
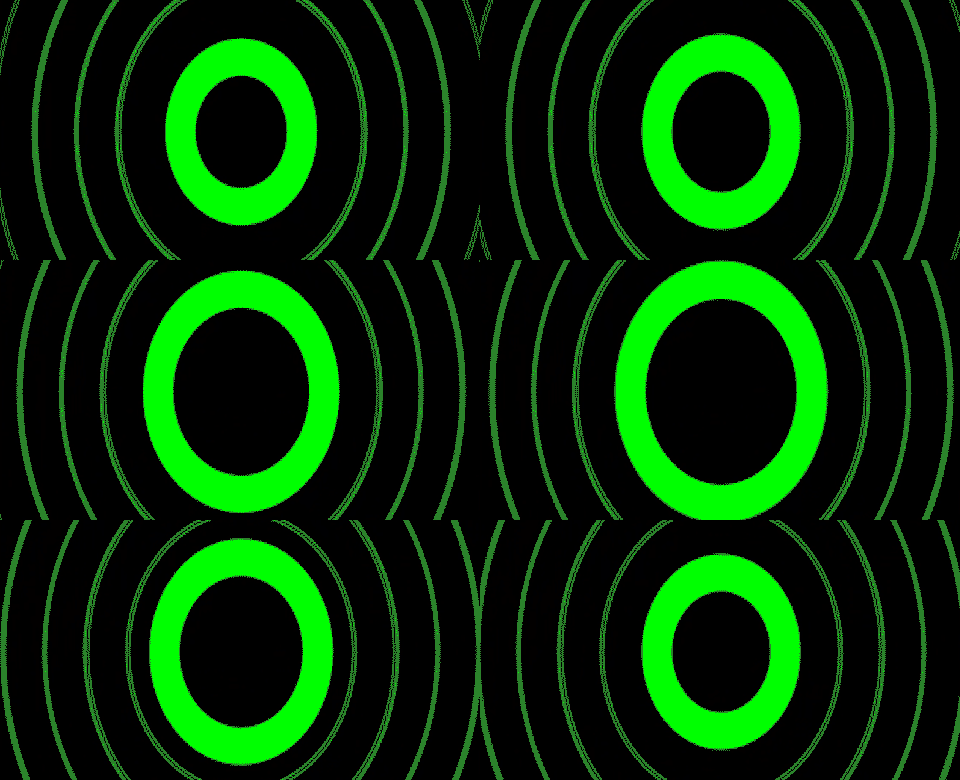
I personally reserve the state handler for large, complex effects with very specific state logic, especially when you want the effect to take priority over all others. Keep in mind that the state handler works like a stack and only runs the top effect; each state effect is responsible for removing itself when it’s done. This example demonstrates a matchmaking lobby animation that adapts based on whether you’re searching or not. It also includes its own small effects array with a helper effect. The meters used here are inLobby and yellowPlayButton, which only activate in the matchmaking lobby. The yellowPlayButton changes color depending on whether you are searching.
function lobbyAnimation(){ // Instance variables this.start = new Date().getTime(); this.elapsed = 0; this.radius = 0; this.searching = 1000; // Instance effects array this.effects = []; // Process is the method that allows a state effect to remove itself this.Process = function () { // If the lobby menu and play button disappear, remove the effect if (inLobby.decreased && yellowPlayButton.decreased) { stateMgr.Pop(); // Global boolean to prevent duplicate lobby effects in the state handler lobbyAnim = false; } // If the play button is present, edit this.searching based on its color yellowPlayButton.value == 1 ? this.searching = 1000 : this.searching = 100; // Call the Draw function attached to the effect this.Draw(); }; this.Draw = function(){ // Iterate important variables this.elapsed = new Date().getTime() - this.start; this.radius = 50 + (Math.sin(this.elapsed/this.searching)*10); // Fill the background to overwrite other effects ctx.fillStyle = 'black'; ctx.fillRect(0, 0, 320, 200); // Draw the main arc ctx.beginPath(); ctx.strokeStyle = `hsl(120, 100%, 50%)`; ctx.lineWidth = 20; ctx.arc(160, 100, this.radius, 0, 2 * Math.PI); ctx.stroke(); // If the main arc is the right size, push helper effects into the helper array if(this.radius > 59 && this.elapsed % 2 == 0){ this.effects.push(new lobbyHelper(160, 100, 69)); } // Play and remove helper effects if necessary this.effects.forEach((e, i) => { ctx.lineWidth = 1; e.draw(); if (e.radius > 360) { this.effects.splice(i, 1); } }); } }function lobbyHelper(x, y, radius){ this.x = x; this.y = y; this.radius = radius; this.draw = function(){ // Set the global transparency value. 1 is opaque, 0 is invisible. ctx.globalAlpha = 1 - this.radius/360; ctx.beginPath(); ctx.strokeStyle = `hsl(120, 100%, ${50 + (this.radius/7)}%)`; ctx.arc(this.x, this.y, this.radius, 0, 2 * Math.PI); ctx.stroke(); // Set the global transparency back to 1 so your other effects are opaque ctx.globalAlpha = 1; this.radius++; }}Not Searching:

Searching:

And that wraps up our callbacks tutorial, as well as the official SignalRGB dev walkthrough. Keep an eye out for the next and final addition to our walkthrough, Lightscript Maintenance!