Instructions for flashing QMK firmware with QMK Toolbox with Signal RGB Firmware, for this guide, we will be using the GMMK Pro:
You are responsible if you brick your keyboard!
Note: This will override any custom keymaps you have made!
- Download firmware for your keyboard from: https://github.com/SRGBmods/QMK-Binaries/
- Download QMK Toolbox from: Here
- Extract the firmware and move QMK Toolbox into a new folder.

- Open QMK Toolbox and QMK Toolbox should prompt you with a screen about installing drivers. Click yes.

- QMK Toolbox will prompt for admin access, click Yes and follow the instructions that pop up on screen.
- If QMK Toolbox does not prompt you to install drivers or you clicked no, go to Tools and Install Drivers.

- Once drivers are installed, Click Open under the Local File heading.

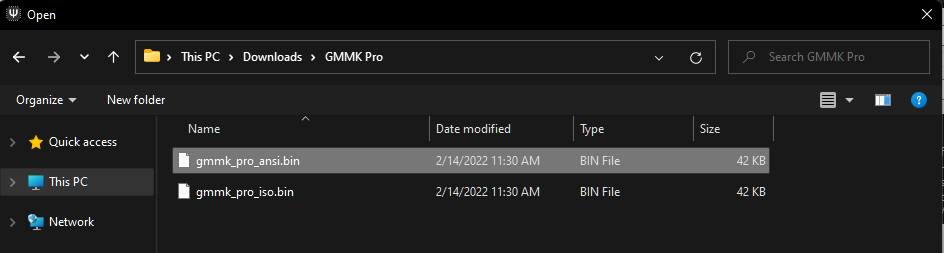
- Then go to the folder with the firmware, and choose the firmware for your board (ANSI if you are in North America, or ISO if you are in Europe).
- Now enter bootloader, each keyboard has a specific order or combo, search online for your specific model, this is how is done on GMMK Pro: unplug your keyboard, and press and hold the Space Bar and B key while plugging in the keyboard. The flash button should now appear in QMK Toolbox (This also will erase persistent settings).

- Click Flash and wait until the keyboard reboots. (Not doing so will result in the keyboard getting bricked)
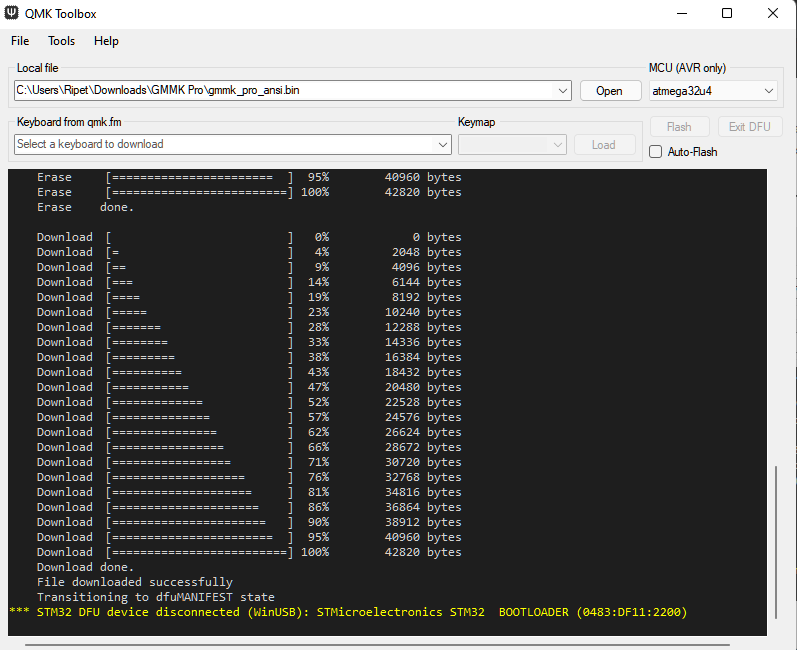
- If the keyboard is properly flashed, then it will turn rainbow upon reboot. You are now ready to use your QMK Keyboard with SignalRGB.
Was this page helpful?